We are continuing to make progress on the playroom. I am so glad Rob tackled the major parts of it before I was in the final trimester with baby #4. I am starting to slow down with the projects on my end, but my to do list seems to just get longer and longer.
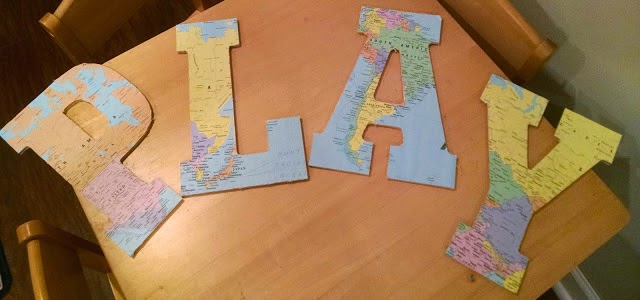
I picked up some wooden letters that spell out the word PLAY for the wall behind the couch.

I picked up some wooden letters that spell out the word PLAY for the wall behind the couch.
Rob asked a fellow teacher if he had any maps he was not using anymore in his class. He gave us several and they turned out to work perfectly. Plus, we have a few more for other projects in our future. I had picked up a large canvas from Home Goods, and hung it on the wall. Then I received some pillows I'll share below, and decided that a "transportation" themed playroom would be a fun choice. Then I was able to get some direction....literally.


I wanted to hang up some of the recent pictures of the kiddos done by my friend Michelle at Michelle Albright Photography. I found these great white frames from Target for approximately $20 a piece. I ordered size 11 x 14 photos for the 8 x 10 spaces, and their little faces fit great. I did not want them to look too small. The fourth frame is obviously blank for Baby Boy Vaughn coming in August.
Next up I will be sharing our DIY chalkboard project that is directly across the room from this couch. Our daughter has definitely enjoyed it so far, and has already given everyone their own designated space on the board. We will see if everyone follows instructions soon enough.
Other Playroom Posts:
Playroom Part #1 - Blank Space into a Room
Playroom Part #2 - Doors, Trim and Painted Stairs
Playroom #3 - projector


let me know if that happens! room looks good. i love your color choices!
ReplyDeleteLooooove it! It's all coming together so nicely! The licence plate pillows are so cute!
ReplyDelete