Tuesday, April 28, 2015

Playroom Progress Part 3

The playroom is definitely getting a lot of use lately. It turns out it is nice to have a second play area for the kids. We are beginning to be down there every evening before bedtime now.  You can see that Wynn fixed up the room already as her movie theater.  Toy storage is definitely on the to do list next.


Rob installed these speakers that we purchased on Amazon while he was doing the drywall work for the room. He ran speaker wiring from each speaker to the unfinished side of our basement. We have four speakers, and this room is approximately 12 feet by 20 feet, and the speakers are more than perfect for the space.


We purchased this DVD/Home Theater combo to have a device for the sound to run through. We were looking for a typical receiver. The receivers we found we around $150 and up depending on what features you were looking at. Unfortunately, we did not want to spend that much money for a receiver alone.  Rob went to Target trying to price more items out and stumbled upon the DVD/home theater combination. We do not use the speakers that came in the set, but for $75 it was worth a try to see if we could hook up the speakers we installed to it. Turns it out it works out great! The sound is phenomenal as well.

The projector we ended up purchasing was approximately $320 on Amazon. After reading the many reviews on it we decided it would work best for our space.  It ends up being cheaper than buying a TV for the room in the long run, and we can are keeping the TV off the wall and the little hands that may want to touch it.  It is approximately seven and a half feet from the wall, and this means that we are getting a 65 inch screen on the wall. It is high enough where all the little people can move around without walking in front of the viewing portion of the projector.
The walls that Rob put up are smooth enough to end up not having to purchase any materials for an actual screen. I did find this great screen material on Amazon, but we ended up returning it after we realized it was not necessary in our project. We have not had cable in our house for two years, but we do have one cable box in the garage that Comcast sent with our wireless internet fee we pay each month. We mainly rely on our HD antenna and our Roku boxes. We opted to purchase an Amazon Fire Stick that could easily be placed in the back of the projector. We have Netflix, Amazon Prime and Hulu available with many other options as well. Wynn has already learned to effectively operate the remotes for the projector and the Fire Stick.  
I had a gift card for Target, and wanted to find a rug on there so I did not have to spend actual money elsewhere. We have several indoor/outdoor rugs in our house already. I find that they are easy to clean and are pretty easy to clean up after spills or dog related issues. I found this rug on Target's site. It was 10% off with my Target Pharmacy rewards coupon, and then an additional 10% off with a promo code that Target's site had available. I ended up having to pay $35 out of pocket for this with the free shipping. It is 7 by 10 feet, and takes up most of the room. It is helpful because it helps with the echo issue we were encountering with three kids and the laminate flooring.
The most recent find was this couch from Craigslist. The funny part is that we actually purchased this from a family who have children that attend the school Rob teaches at. Small world indeed! I was looking at a cute gray love seat on Target's website, but we going back and forth on whether or not to pull the trigger on it. It was $377, which included a large oversized shipping fee. I thought it was a good price, but figured it would be a lot better to get a full size couch. I checked out CL that day, and found this six month old couch for $350. The people were getting rid of it in order to get a sleeper couch instead. My father in law and Rob went and picked it up two days later, and it works great. It was the same color as the original couch I had thought we would get from Target, and with an extra seat. It is microfiber and super soft. I am going to buy some pillow covers to cover the pillows the couch came with eventually.


I had a Home Goods gift card burning a hole in my wallet since Christmas. I wanted to find a large piece to put on the wall between the water main door and the fuse box. I was actually in Delaware, and found this adorable canvas artwork for $29. I love the no sales tax, and so the price is what was on the tag! Hooray! 

Next up on the to do list is a desk area, toy storage in the closet, and possibly a large chalkboard and art display on the wall.  Rob also may want to do some sort of framing around where the projector "screen" is at the moment. We shall see how much gets done before baby #4 comes our way.


Sunday, April 26, 2015

Teacher Appreciation Week Paper Straw Apple Project

I came up with two ideas that you along with kids can make for the teachers in your lives. They are inexpensive and can easily be paired with a small gift card or even some spring flowers from your garden as well. The first week of May is Teacher Appreciation Week, and it is a great time to thank a teacher for all they do throughout the long school year.


I purchased paper straws for around $3 from Wal-Mart. Then I found a canvas I had previously purchased for a few dollars from Michaels. The other materials I used were a green pipe cleaner, a glue gun, red ribbon, and a small metal and paper tag.

 
Wynn and I worked together to snip the straws at various lengths, and then we arranged them into the shape of an apple. Once we had the shape we wanted, I then used the hot glue gun to attach the pieces to the canvas.

Then I made two simple loops with the pipe cleaner, and then glued that to the top of the apple on the canvas. I wrote #1 teacher on the paper tag, and wrapped the twine it came with around the stem of the apple.

To add a bit more detail to the canvas itself we added some strips of ribbon to the canvas as well. You can really do anything to add more to the canvas. Maybe even strips of color coordinated scrapbook paper.


Another quick idea Wynn and I made together was an apple ornament. I had leftover glass ornaments from Michaels. Wynn helped me to squeeze some craft paint into the ornament, and then I shook the paint around to cover the entire inside. It was easier for me to do it being that the ornament is glass. Then she helped me write on the outside of the ornament with a paint pen.  We also added the pipe cleaner stem to this project idea as well.

Thanks for stopping by, and remember anything that you can do to make a teacher smile is appreciated. Even a handwritten note expressing your gratitude. I remember feeling grateful for all thoughtful messages and small tokens of thanks that I was given when I was a teacher.


Monday, April 20, 2015

Updating Outdoor Furniture With Paint

Valspar's outdoor spray paint for plastic items may be my new best friend. It makes something drab turn into something fabulous with only a few minor steps.  We have had a few plastic chairs for our side yard for a few years. I purchased them at a local pharmacy for $10 a piece on a random sale day.  They are perfect because we can take them anywhere in the yard the kiddos want to play. The colors I found at Lowe's were a navy and light blue. They are only a few dollars a can, and so it is a lot cheaper to do this than purchase new chairs.
The first step was to power wash the chairs in order to get them nice and clean for the spray paint. I will admit that it makes the chair feel a bit gritty once it has been power washed, but the spray paint gave it a smooth feeling again.  As you can see the chairs began as plain tan and were not exactly inviting.

Each chair took approximately two cans of spray paint with two coats on them each. We have two other chairs to go, but we wanted to see how the color works out. The lighter blue worked better because it was closer to the original shade, and the darker navy needed more of a second coat due to the tan showing through.

I purchased some outdoor throw pillows last summer from Overstock, and the colors blend perfectly with the chairs now. I am so happy to give these chairs a new life because we will be getting a lot of use out of them this season that is for sure.

Tuesday, April 14, 2015

Effortless and No Sew Table Runner

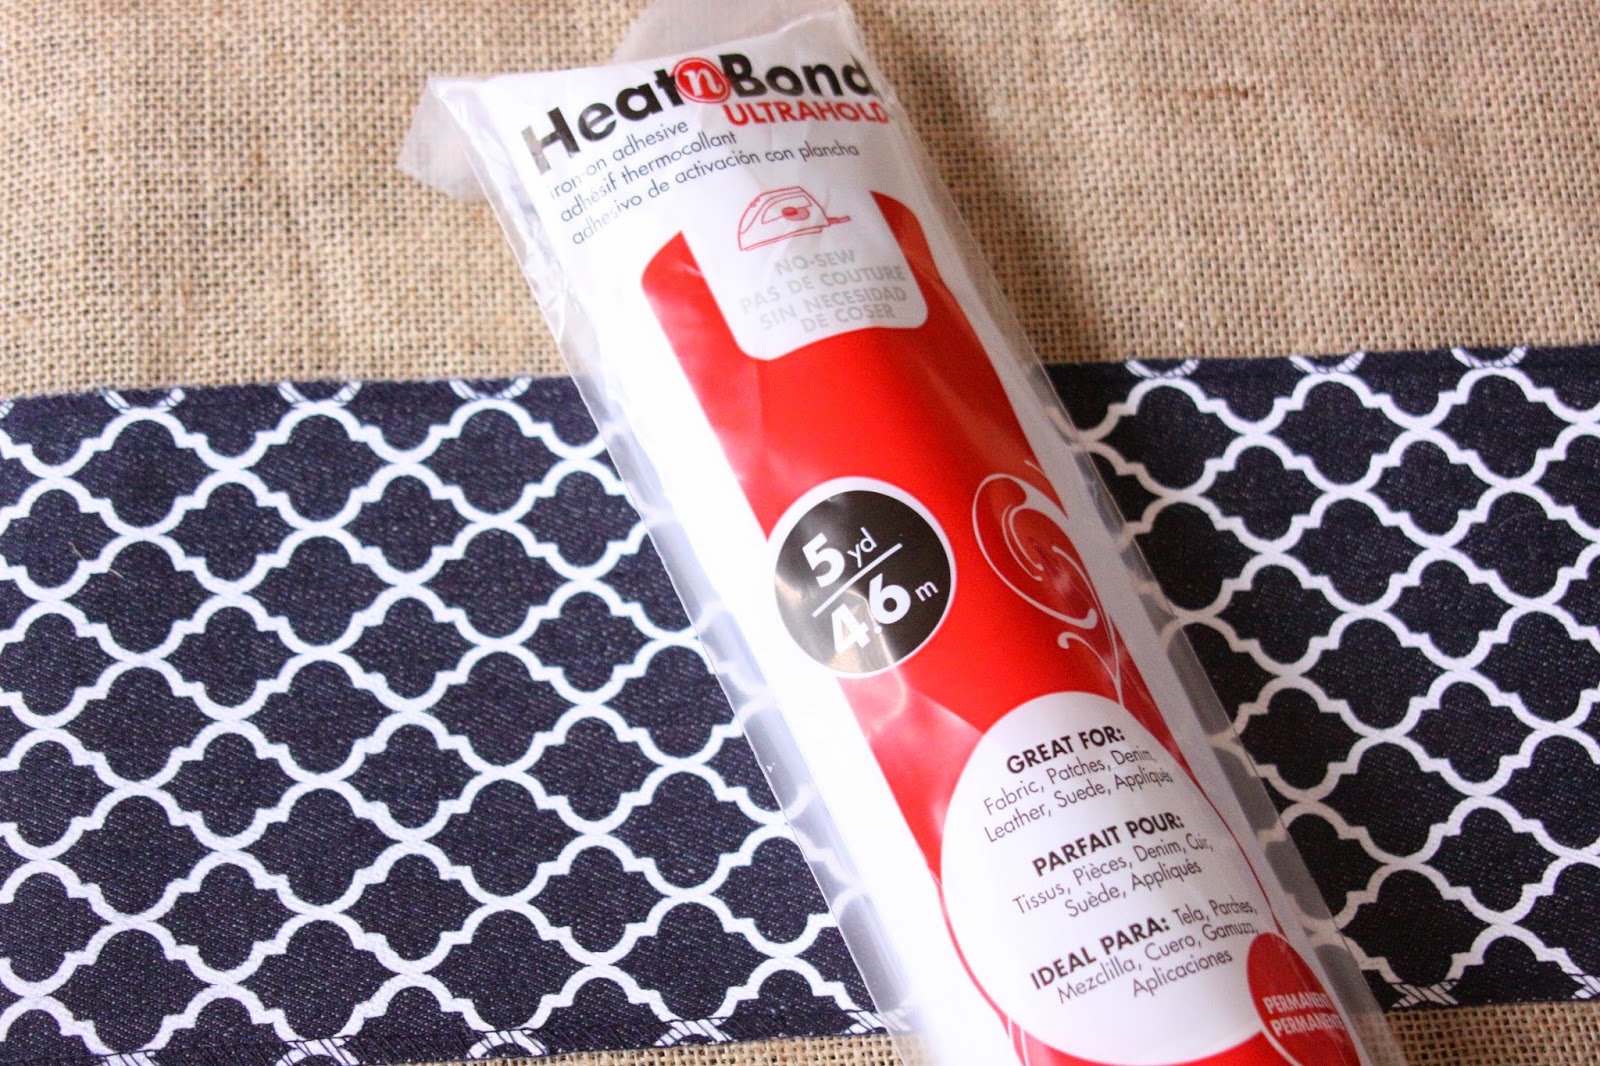
Oh how I wish that I could sew something. Maybe one of these days I will have a chance to learn, but until then I will have to rely on my best friend Heat N Bond to give me the feeling as if I have done a sewing project.

I purchased a roll of denim material in a roll with a trellis pattern on it from Michaels for around $6. I used about half the roll for this project. 


Last year, I had picked up this table runner at Hobby Lobby for less than $10. I had saved it until I had a way I could make a simple update to it. I did not want to paint it or stencil it. I figured it would be cute to add this denim fabric to it.


Heat N Bond is so simple to use. All you need is an iron to help you adhere it to a fabric, and attach the fabric to your surface.  I purchased the Ultra Hold version because I knew the denim was thick. You use an iron to attach the Head N Bond to the demin fabric, and then you peel off the paper backing. Then you place the denim face up on the burlap runner to and use the iron to fuse the two pieces of fabric together.  I just placed it straight down the middle and it took about ten to fifteen minutes to get it completely attached.
I added it with my owl vase that I found at Michaels last year on clearance for $3 and some flowers I picked up while I was grocery shopping on afternoon.

Gives my usually neglected table a little something between the holiday related items I may throw on there every once in a while. Also, it seems none of the kids are interested in pulling it off which I consider to be a win in my book. Thanks for stopping by!

Thursday, April 9, 2015

Lions, Tigers, and Bears Oh Baby! Baby Gift and Exciting News


Recently I went to a baby shower for a dear friend. I thought I would come up with a cute idea for her gift. Using my Silhouette Cameo I cut out three animal shapes, and made a homemade card. I used cardstock to make a Lion, Tiger and a Bear. Then I made the card below.  The inside of the card said "Oh Boy!" or you could even put "Oh, Baby!"


Then I put together a gift to go along with the theme of the gift.  All of these items were purchased from Amazon, and of course it made it easier to search for items that went along with the theme instead of walking around Target. 


A cute little gift idea for a new baby on the way. Everyone can use an extra sleeper and teether that is for sure.  The Little Tiger book is a larger board book that will be great for little kiddos to hold and possibly chew on. Speaking of babies we wanted to let all of our readers know that we are expecting a little boy in August in our family. We are super excited and are looking forward to the fun times in our future with four kiddos.