Showing posts with label outdoor. Show all posts

Tuesday, May 28, 2013

Pallet Trays

We had a few pallets left in the garage from last summer. I mentioned to Rob that it may be time to find them a new home or put them on Free-cycle.  However, upon returning from Lucketts he decided to start taking them apart and making something new with them.  He decided to make some pallet trays.  Here is what he came up with:

Rob took apart the pallets very carefully.  I used a reciprocating saw to cut the boards off the pallet.  Then he sanded the pieces down with 80 grit and 220 grit sandpaper. Then he cut the boards to the desired size. He stained the brown tray with Cabot's pecan stain and the gray tray with Rustoleum's Sun Bleached Stain.  He also used a 1/2' router bit to create a channel for the bottom boards to sit in. He then used Danish Oil to finish off the stain.

I then found two belts in my "I haven't worn in years" section of my closet. I gave them to Rob and he cut them down to fit handles on the sides.  He attached the belts using roofing nails. See the belts below. I was inspired by this idea by Sawdust Girl as she used belts for her drawer pulls in her garage.

 Here are the belts before they were sacrificed for this project. I think they were last worn in 2004.

Here is another look at the trays. We are going to use them for the deck this summer to hold drinks or flowers. 


Total cost for these two trays was around $3.00. We had free pallets, belts already around the house and purchased one of the stains in a small container.

Thanks so much for stopping by our blog today!

Get Your DIY On

Saturday, June 23, 2012

Pallet Coffee Table


Last week we shared our pallet chairs, and we now have a pallet coffee table to go along with them.  We received about nine pallets and knew that another project was in order.  Our neighbor also gave us the back of a bench that had seen better days.   This bench back was sitting in our garage for about two months until we found a purpose for it.  Rob decided last night he would make it a part of the pallet table. We just spray painted the iron piece with some leftover spray paint.


Rob cut out the middle slats of the pallet and laid the iron piece in the middle of it.


 Rob used the Minwax Gel Stain in Mahogany that he used for the pallet chair.  Then he cut the extra pieces of pallet to fill the spots on either end and the middle of the iron.


 Rob used additional pallet pieces to make the attachments for the bottom pallet to adhere to the top.
 Rob then worked on staining the bottom pallet for the table. This was tedious but worth the effort.

 He stained the pieces he would use later to attach the pallets together.
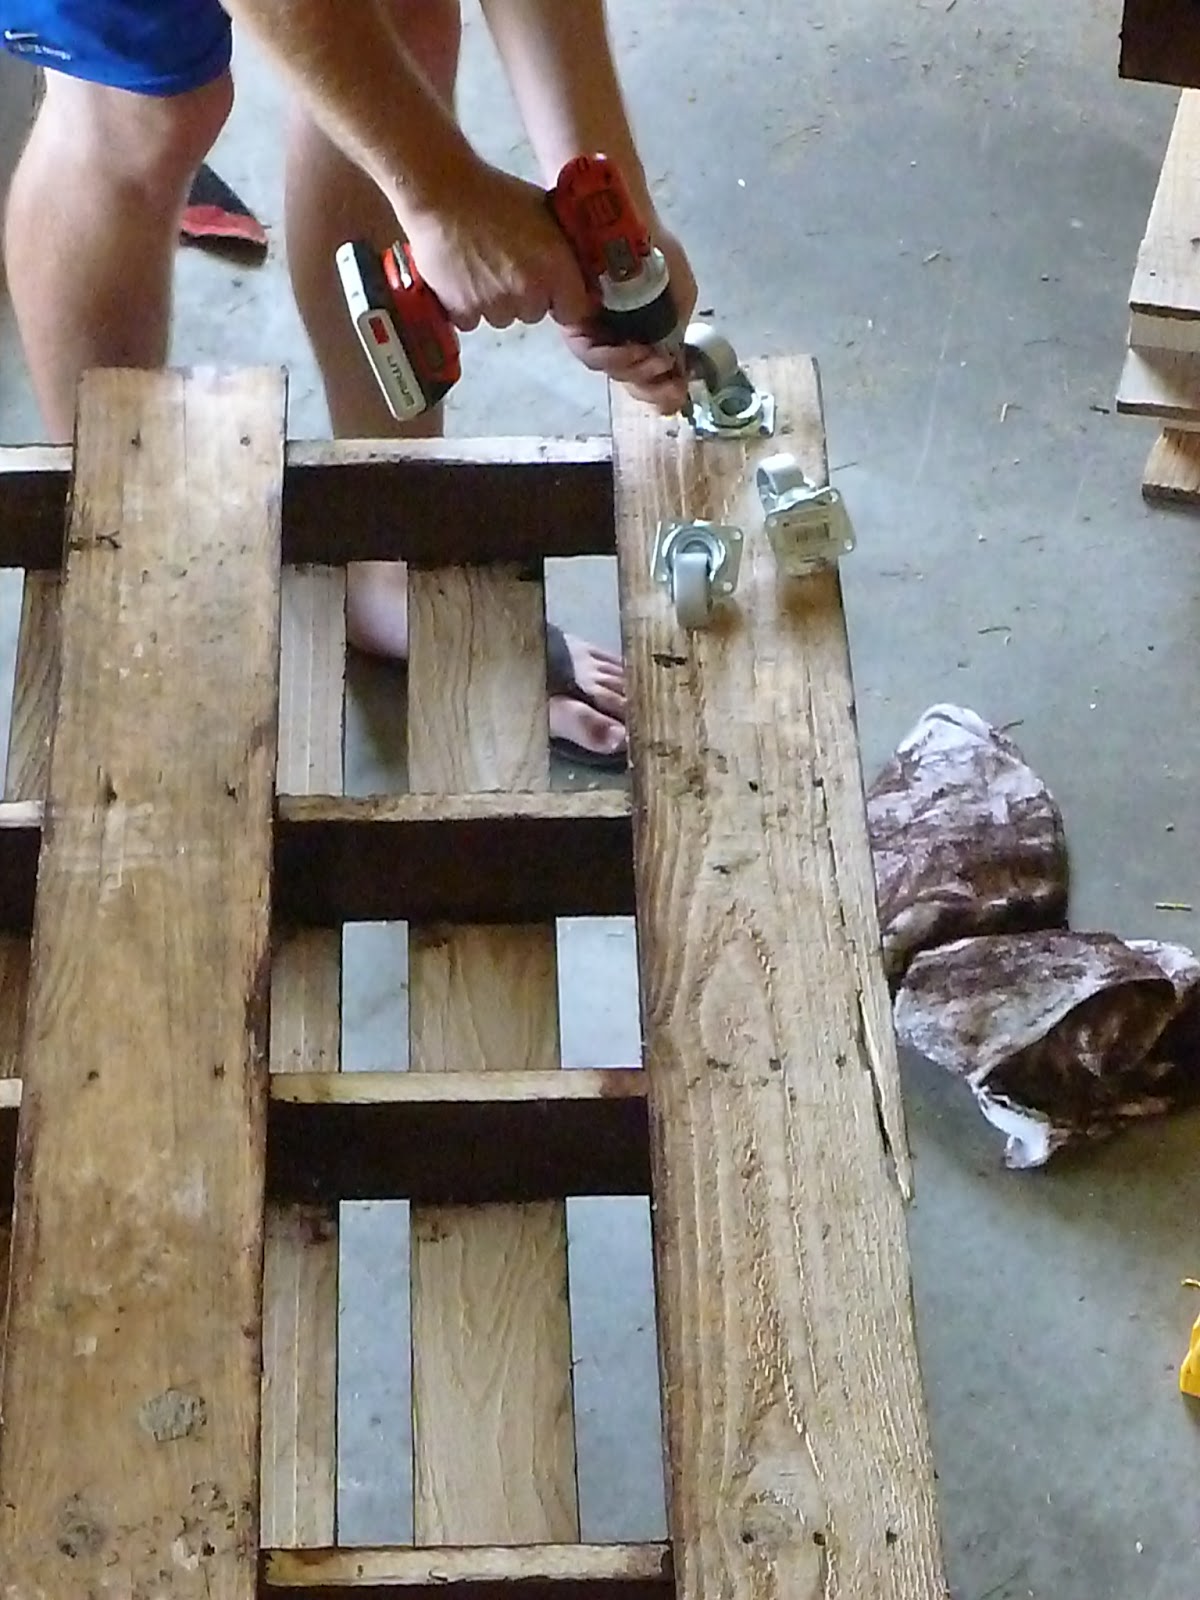
He got some casters from Lowe's to put on the bottom for around $3.00 a piece.
He used quarter inch carriage bolts to secure the pallets together.

Here is the finished product: 


The project cost approximately $30.00 if you factor in the casters, carriage bolts and the little bit of Minwax that was used.  

Thanks for stopping by! Hope you enjoyed this tutorial.

Megan