Showing posts with label pallet. Show all posts

Saturday, June 23, 2012

Pallet Coffee Table


Last week we shared our pallet chairs, and we now have a pallet coffee table to go along with them.  We received about nine pallets and knew that another project was in order.  Our neighbor also gave us the back of a bench that had seen better days.   This bench back was sitting in our garage for about two months until we found a purpose for it.  Rob decided last night he would make it a part of the pallet table. We just spray painted the iron piece with some leftover spray paint.


Rob cut out the middle slats of the pallet and laid the iron piece in the middle of it.


 Rob used the Minwax Gel Stain in Mahogany that he used for the pallet chair.  Then he cut the extra pieces of pallet to fill the spots on either end and the middle of the iron.


 Rob used additional pallet pieces to make the attachments for the bottom pallet to adhere to the top.
 Rob then worked on staining the bottom pallet for the table. This was tedious but worth the effort.

 He stained the pieces he would use later to attach the pallets together.
He got some casters from Lowe's to put on the bottom for around $3.00 a piece.
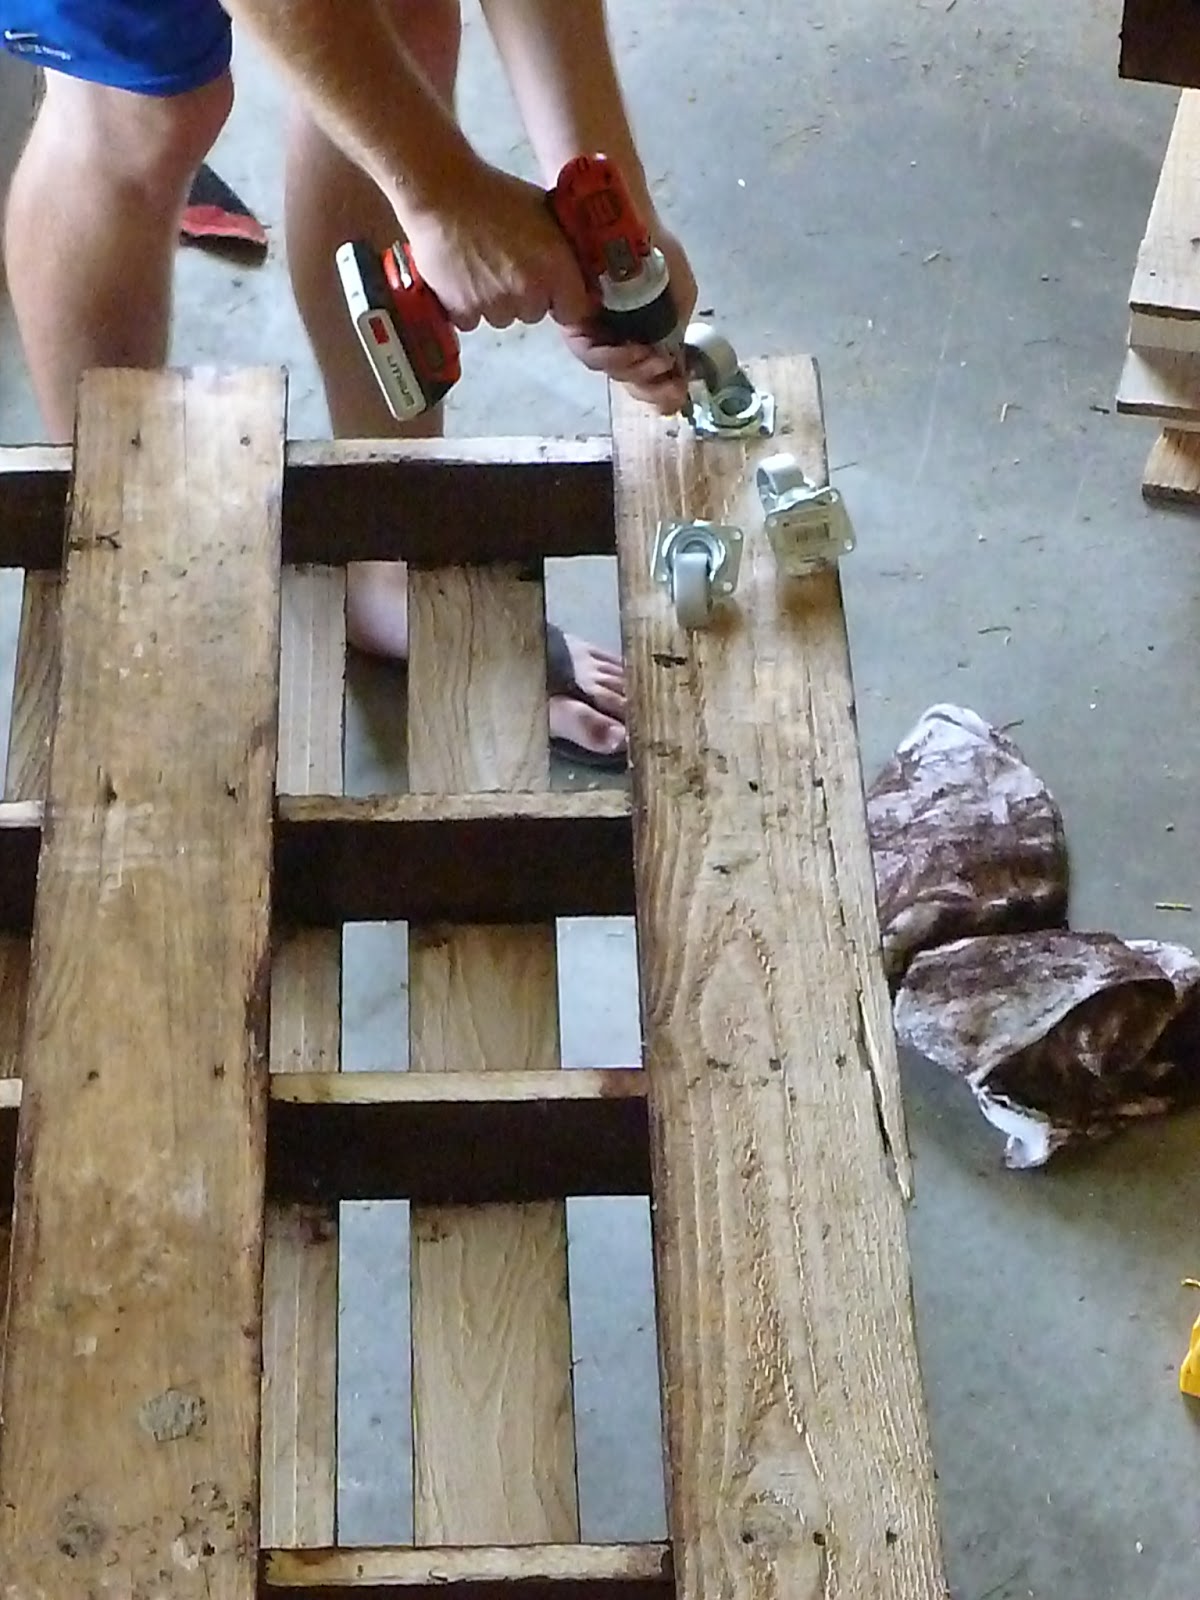
He used quarter inch carriage bolts to secure the pallets together.

Here is the finished product: 


The project cost approximately $30.00 if you factor in the casters, carriage bolts and the little bit of Minwax that was used.  

Thanks for stopping by! Hope you enjoyed this tutorial.

Megan


Sunday, June 17, 2012

Our Pallet Chair


Well I know the pallet project craze has been going on for quite some time. However, we are new to the blog world and had never heard of them until a few months back. So, when my in-law's neighbors offered to give us some pallets we snagged them up.  I had shown Rob various projects, and he said that he wanted to try out the chair.  Our inspiration was this chair done by Holy Scrap Hot Springs:


Rob was able to assemble the chair using a single pallet and basically figured out what worked for him along the way.  Then he used a belt sander to sand it down with 50, 120 and 330 grit paper.  Then he stained the chair with some leftover stain from a previous project. 

 Here is what the chair looked like with and without the stain.
 Here is the finished chair after it has been stained. We are looking forward to using these in our yard this summer.
Thanks so much for stopping by our blog! Enjoy your day.


Megan